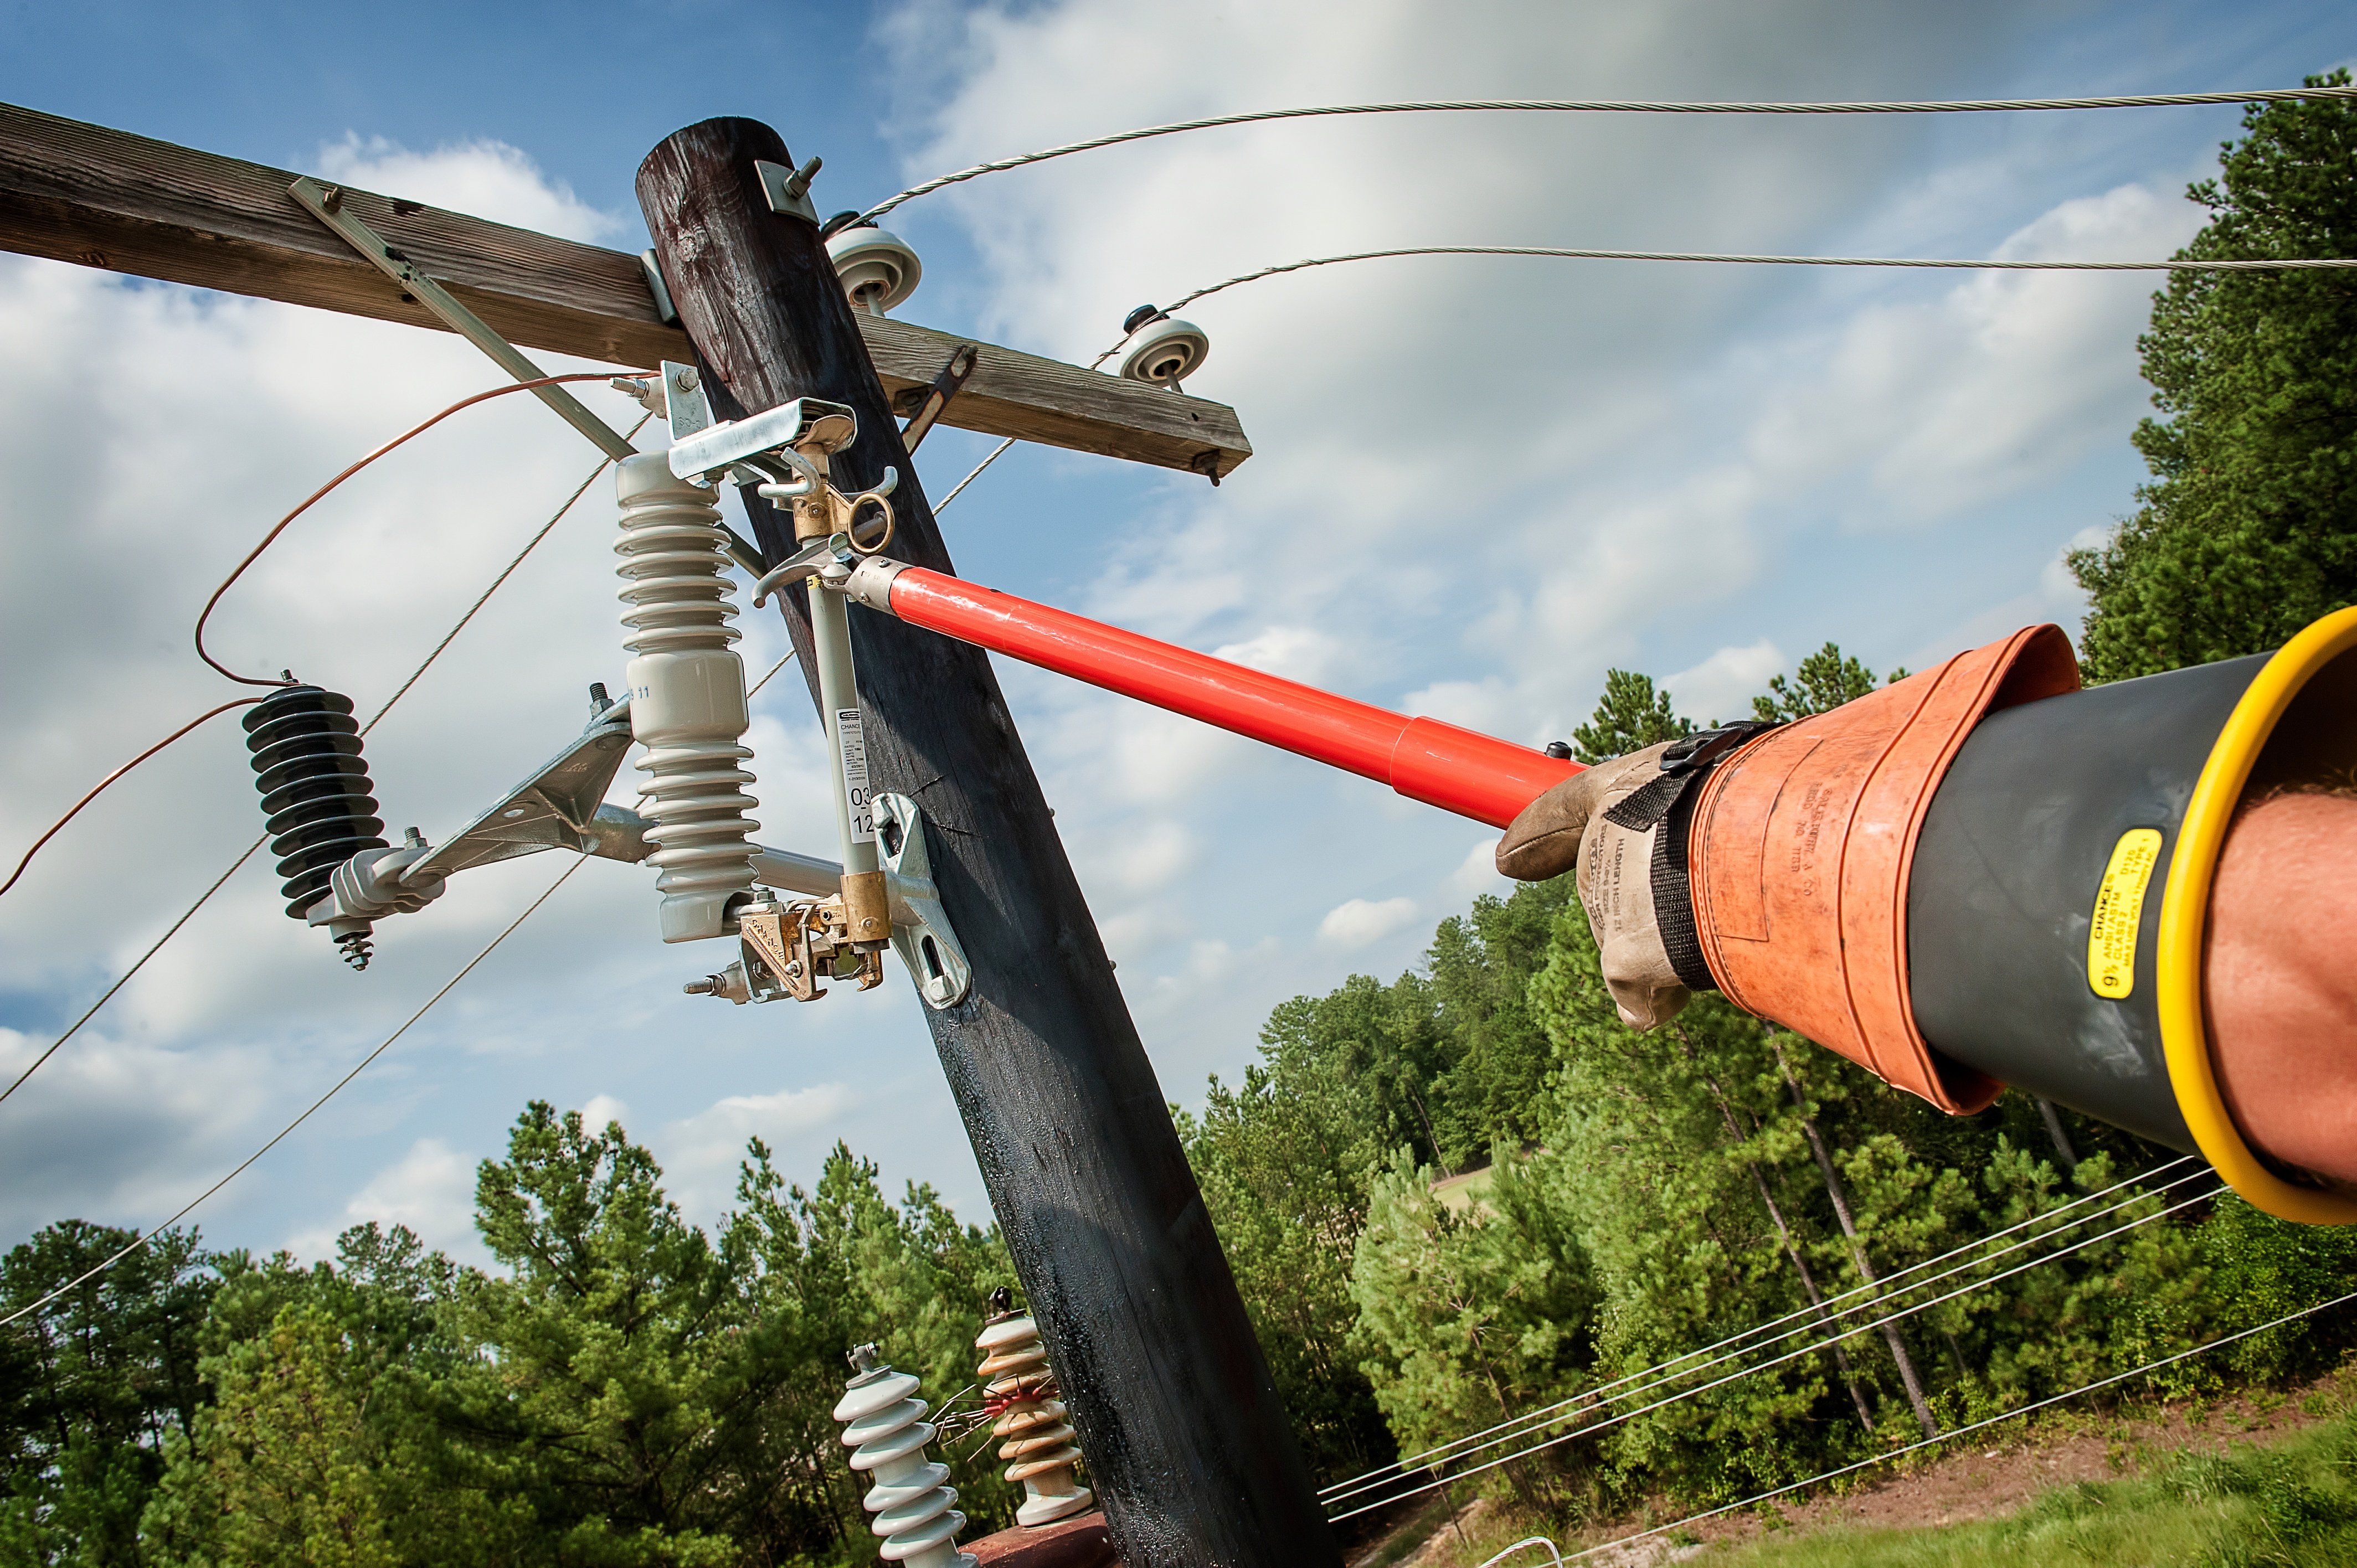
Properly inspecting and storing your rubber insulating gloves could save your life. Rubber insulating gloves are the first line of defense against electric shock. ASTM F496 requires that rubber insulating gloves be inspected and electrically tested at a maximum interval of every six months, whereas field inspection is necessary prior to each use. The date code on the rubber insulating gloves should be checked to verify the most recent testing of gloves is still valid.
Visual Inspection
Check for the different types of blemishes while visually inspecting your rubber insulating gloves.
- Checking or cracking blemishes can be caused by UV or ozone exposure. Natural rubber provides excellent electrical protection, but just like car tires, if left exposed to elements, it will begin to crack and degrade. Always store your gloves per ASTM F496.
- Splits, cuts or holes are blemishes caused by wood splinters, cable ends, tool edges and more.
- Grooves are usually caused by rope burns or heat exposure. It is important to make sure that your leather protector gloves are undamaged to help avoid this issue.
- Creases are caused by leaving the glove inside out for too long, or storing it folded in an unnatural position. Always store your gloves in the natural position to avoid creasing.
- Blooming or swelling is caused by chemical or oil exposure, such as petroleum-based products like inhibitors, hydraulic fluids or transformer oils. It is important to instantly wipe off all chemicals and oils immediately after contact. If not removed, the gloves will absorb the oils, and the electrical integrity of the gloves will be compromised.
Field Inflation
Daily field inflation and visual inspection is vital before using rubber insulating gloves. It is crucial to always visually inspect and properly inflate your gloves to check for air leaks.
To inflate, grasp the gloves at the edges. Then, stretch the bead and roll the bead over onto itself. Place the glove against the body, and begin to roll the bead toward the fingertips. While doing this, continue to press down firmly to keep the air in the glove. Only the inflation method will reveal minuscule holes, which will allow electricity through the glove. So, listen carefully for leaks.
If no leaks are found, release the air and turn the glove inside out. Be sure all of the fingertips are fully turned before you start inflation. This could result in them popping out during the bead roll preventing adequate pressure from building within the glove.
Repeat listening for leaks for the rubber insulating glove’s interior. Once you have inflated and visually inspected your rubber insulating gloves for blemishes, date code, and punctures, then your rubber insulating gloves are ready for field use.
Finally, please be sure to follow your company’s work practices and procedures regarding inspection and testing of rubber insulating gloves.


