How to Install Small Enclosures
The following steps walk through the four main points of a typical field installation of an underground enclosure that is smaller than 24 inches by 36 inches.
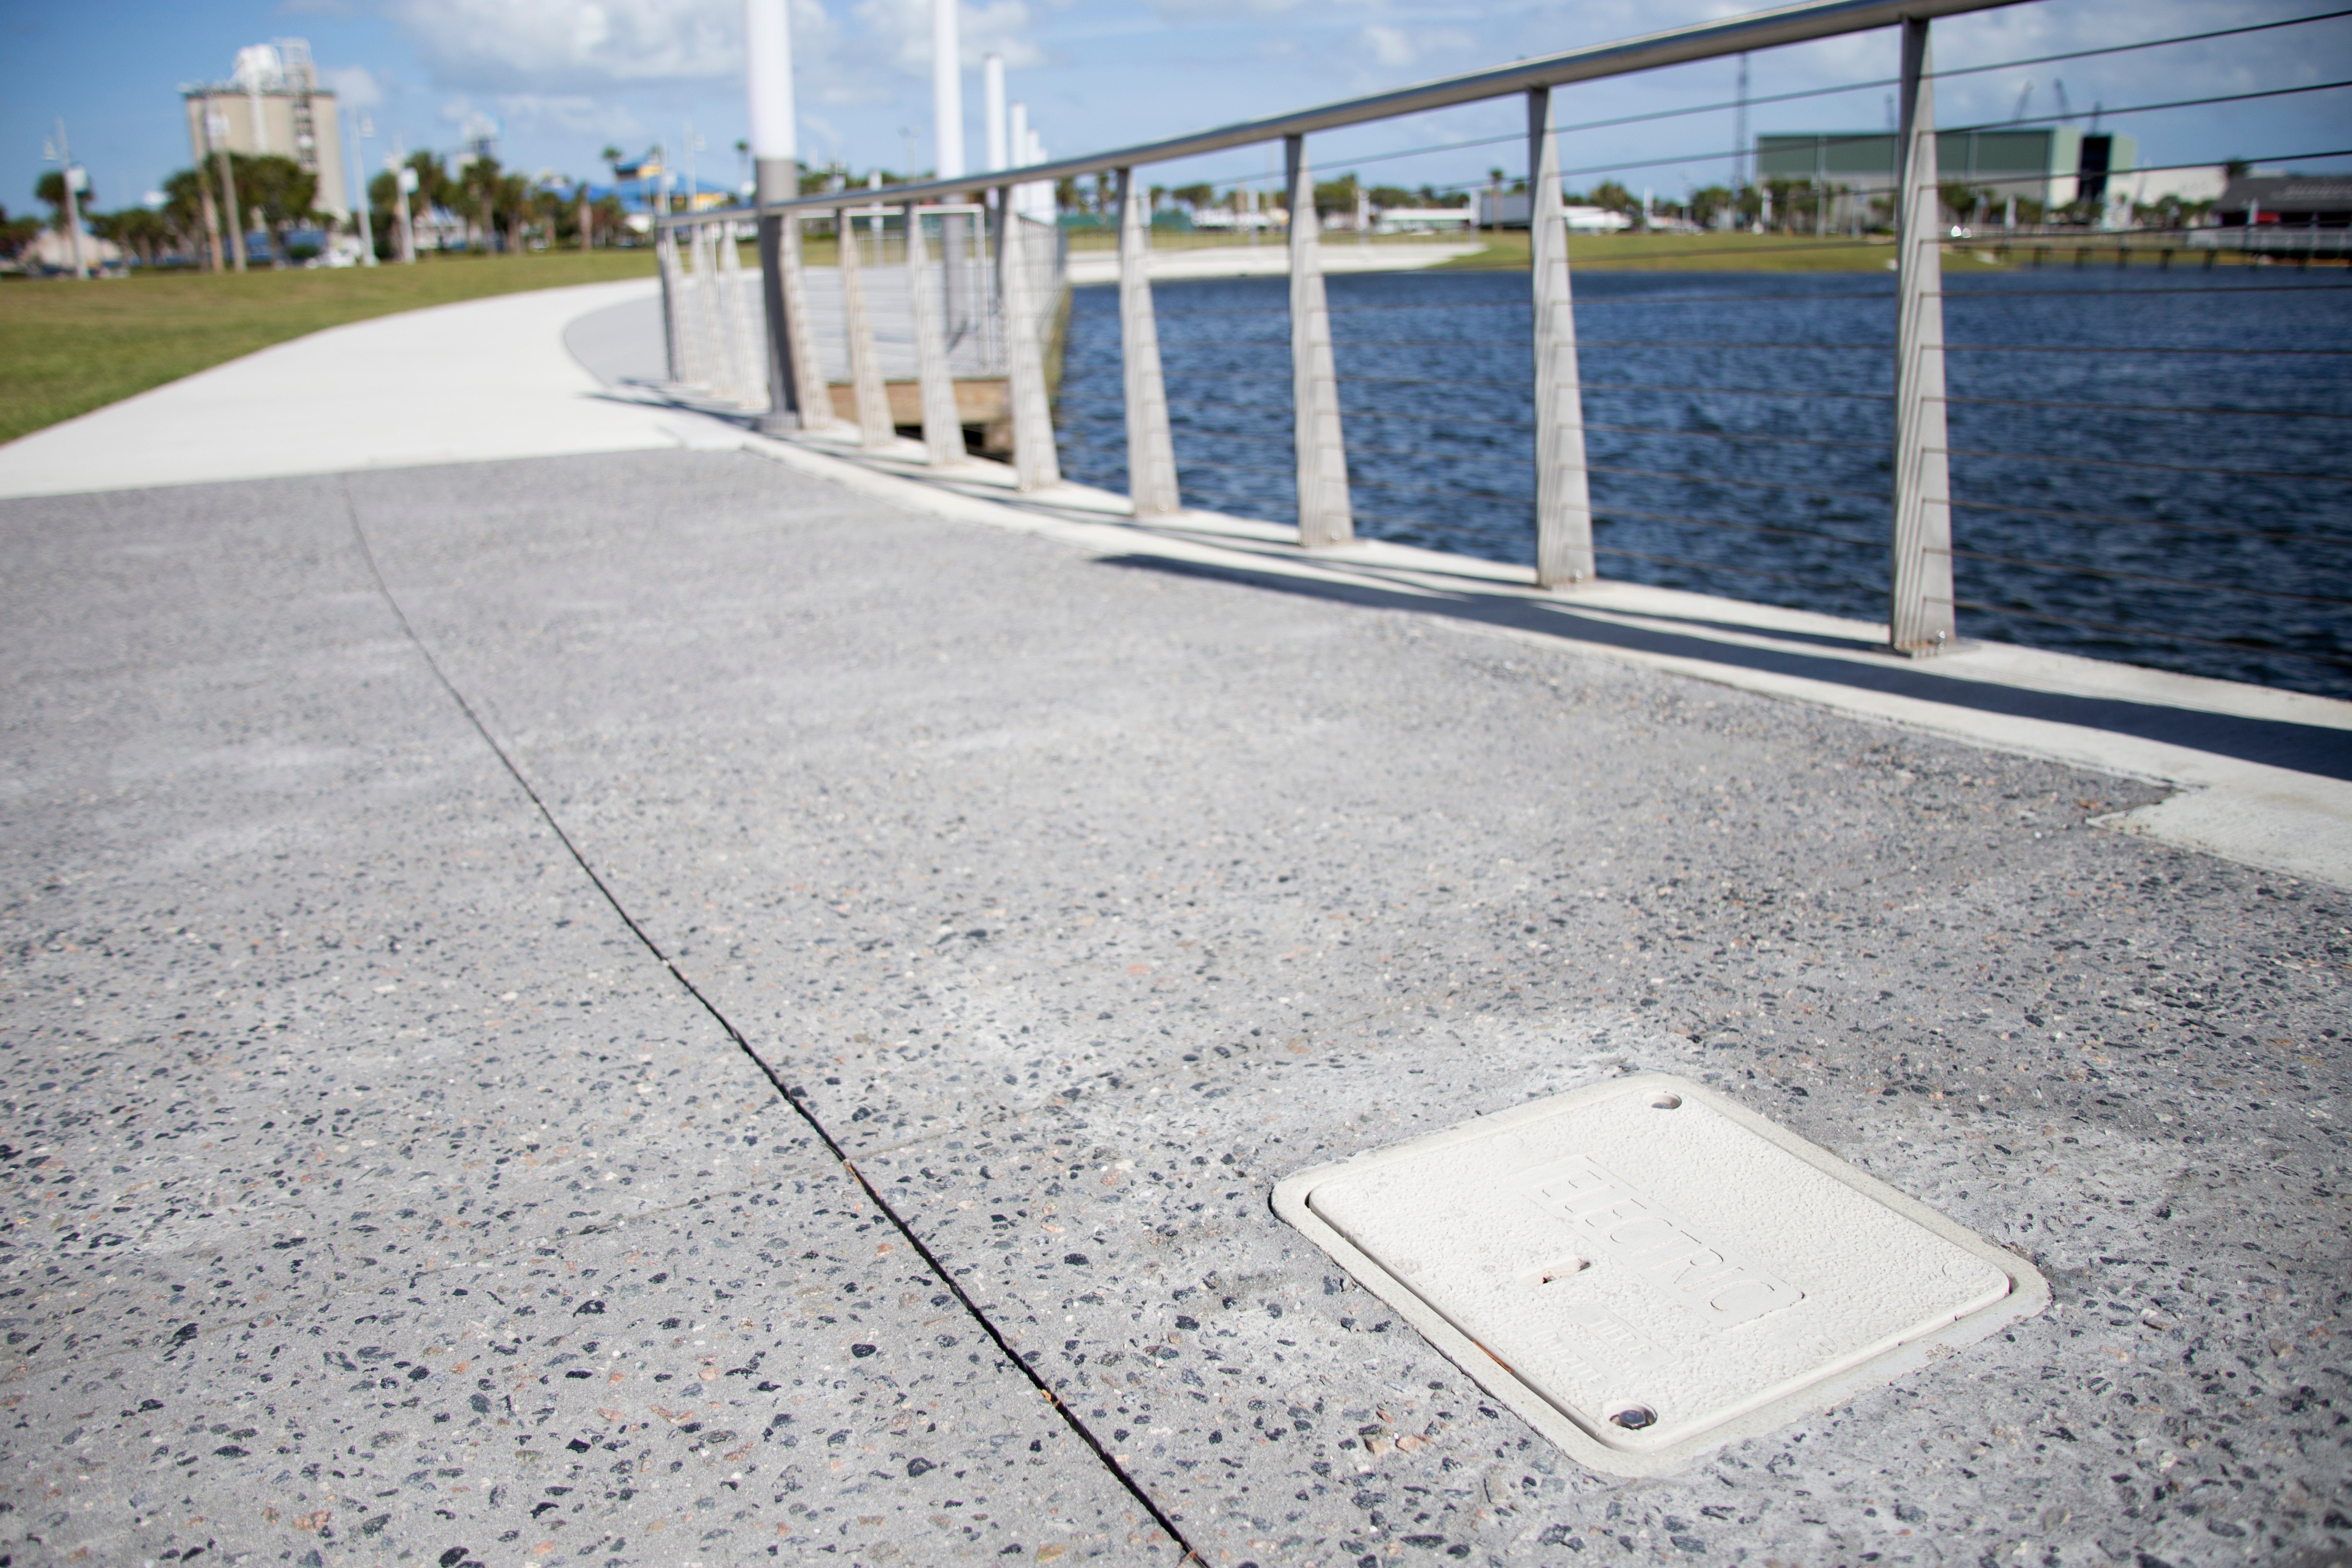
Small underground enclosures, commonly called handholes or pits, can come in a variety of shapes and sizes. Enclosures house critical electrical, telecommunications, gas, and water service connections. Each installation and application is different, but there are common installation guidelines that when followed will help to minimize field damage and ensure longevity.
The following steps walk through the four main points of a typical field installation of an underground enclosure that is smaller than 24 inches by 36 inches. To ensure a successful installation, it is important to comply with federal, state, and local laws and any applicable building codes.
The Four Basic Steps
- Site Selection – Select an enclosure that is appropriately rated for the site by following the ANSI/SCTE tier rating system for enclosures. Excavate a hole, lift the box and cover into place separately, and backfill to complete the installation. A successful install begins at the storage yard. Properly handling and transporting an enclosure to the job site will ensure that the enclosure is not damaged and the finished product performs as intended. More information regarding tier ratings is available in Hubbell's underground catalog. Please call 811 to locate any buried utilities prior to digging.
- Excavation – After carefully unloading the enclosure on-site, survey and secure the job site, hold a safety briefing, and note the slope of the ground. During excavation, dig the hole six inches to one foot larger than the enclosure on all sides. Excavate deep enough to accommodate six to eight inches of crushed rock and level the enclosure. After measuring the depth of the hole, excavate six to eight inches deeper to provide room for the crushed rock. Move the enclosure and the cover to the site in a manner that minimizes any damage to the enclosure. Regularly check the depth of the hole in relation to the grade of the surrounding area. Prepare conduit runs to understand how all components will fit into the box. Measure the conduit to determine cuts prior to placing the enclosure.
- Placement – Remove the cover from the enclosure prior to lifting the box. Move and position the box into place. Add gravel and cut side walls as needed. Position the small enclosure and note any incoming conduit paths. If additional crushed rock is needed, rather than removing the box, you can add rock and lift the enclosure. This process might need to be repeated several times until the box is level. Clear any rocks from the lip of the enclosure and remove any bolts prior to installing the cover. If the box needs to be cut to accommodate existing conduit paths, use a diamond-tipped masonry hole saw or a cut-off grinder. When cutting, do not cut the enclosures corners and do not remove more than 25% of any sidewall. When removing a cut piece, use gloves to avoid getting fiberglass shards embedded in your hands. Knockouts and terminators can be pre-installed at the factory to save time in the field.
- Backfill – For good soil compaction, tamp the dirt every time 6" of backfill is added. On HDPE boxes, work the backfill soil in between the sidewall structural voids prior to tamping the soil around the box. Backfill to grade.
Carefully install the cover and do not drop it. Rough handling of covers during installation can cause the lip of the box to chip and can damage the cover. Ensure proper soil compaction so that surrounding soil does not sink over time. Crews can temporarily mark their completed enclosures with conduit stubs so they could quickly audit their finished job site.
Site plans might specify that a concrete collar is to be poured around the enclosure for cosmetic reasons, for extra security, or for additional strength. Begin by creating a form and adding gravel to the base. A cutaway view shows the layers below the concrete ring of an enclosure. The concrete apron should be a minimum of four inches thick, but can fill the space between the top lip of the enclosure and the gravel base.
When installing a high-security Quazite® lock box enclosure, first install the inner metal jacket and then lifts the outer polymer concrete box into place. Check for level as each part of the assembly is added. The installer should check the spacing of the box in relation to the floor. Pour concrete into the floor. Cover the boxes with plywood to avoid getting concrete on or in the enclosure during the pour. Smooth the concrete with a trowel, finish edges, and remove extra rock and concrete prior to curing. The concrete will need to cure and covers added to complete the installation.

Recommended Posts
.png?width=767&name=ACL-HPSUA-GR-EN-04290%20(1).png)
How Utilities Use Capacitor Banks for Volt-VAR Optimization

Common Misconceptions About URD Grounding — and What You Should Know
