When installing a helical pile foundation, the installing contractor is responsible for inspection and keeping good records. In some jurisdictions subject to building code requirements, special inspection by a qualified third-party representative is required.
Detailed training for helical pile inspection is available in Chance University as part of the Certified Installer Program. Click the link to get registered for the course.
Before Installation Checks

By performing a thorough inspection before work begins, you can help ensure your team has a safer and more productive installation.
Some helpful tools for the inspector include:
• Plans & specifications
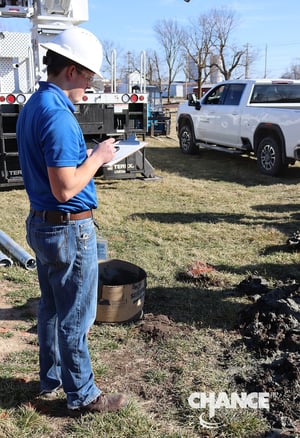
• Clipboard & installation sheets
• Watch or stopwatch (to monitor the rate of rotation and the rate of advance of a helical pile)
• Tape measure (to check helical pile locations based on the Plan)
• Level (to check for plumbness)
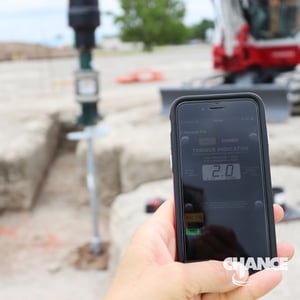
Your phone will prove very handy for many of these tasks. If you plan on using the Chance Digital Torque Indicator, make sure the app is installed.
Depending on how the project was bid, the helical pile contractor may be responsible for site surveys, checking easements, utility locates, and a testing program, among other things. For prescriptive specifications, the inspector should check to ensure the specified helical pile lead sections, extensions, and pile caps are on the jobsite.
It’s important to check the machine and tooling to be used.
👉 Read “4 Machines Used to Install Helical Piles”
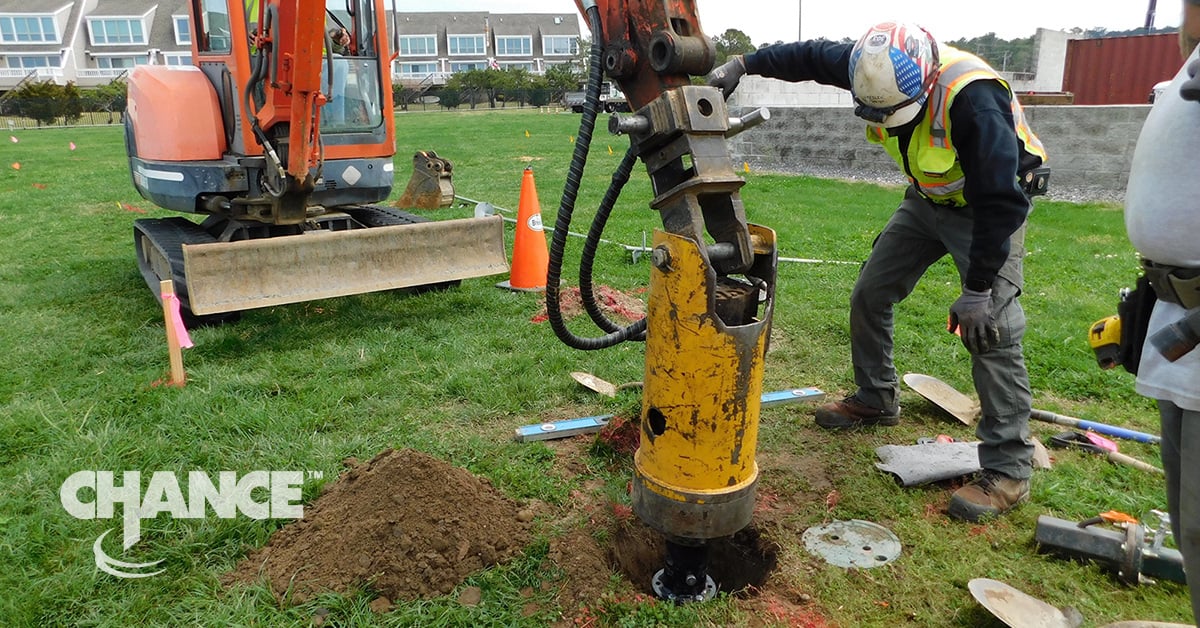
Ensure that the installation equipment, torque motor, and tooling are right-sized for the job and torque requirements.
Inspection During Installation
A supervisor should be active on the jobsite, ensuring that installation occurs safely and correctly.
To ensure best performance, the helical pile RPM and advancement rate should be monitored and documented by using a stopwatch and tape measure. This ensures the helical pile is advancing into the soil like a screw with minimal disturbance. Proper advancement rate is required for the torque correlation capacity method to work. Downward force or “crowd” is a key factor for proper advancement rate. The machine operator must “follow” the helical pile as it advances. Crowd is not easily documented, so the inspector should watch the machine to make sure downward force or “down pressure” is being applied during installation. It is a good idea to ask the operator when they were trained and how many helical piles they have installed.

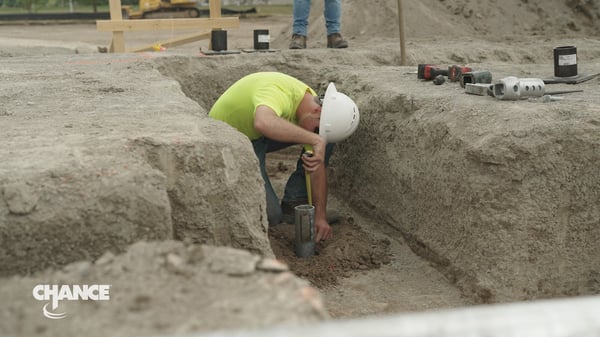
Other recordables are the pile tip depth, which is used to ensure the helix plates are deep enough below grade and also to ensure the helix plates are located in load bearing soil. This is done by measuring the length of the helical pile sections and recording the number of plain extensions installed. The pile location, inclination, plumbness must also be checked and documented. Inclination can be checked with a hand level.
👉 Get the Chance Installation Log Form to use on the Jobsite
An inspector should ensure the pile extensions are properly tightened. Pile termination criteria such as minimum effective torque and minimum tip embedment depth should be verified. Termination devices such as brackets or pile caps should be located correctly and mounted flush with the top of the pile shaft.
 After the Installation
An inspector’s job is not done when the installation is over for the day! If you keep good records throughout the installation, this part of the job should be much easier. Required documentation will vary by project but some items that may be needed include:
• Installation log sheets
• As-built drawings
• Load test data
• Building code inspection certification
• Chance Warranty Registration
Resources to help
All of these steps have been compiled in an easy-to-reference Inspector’s Checklist. Download yours today and save or print for easy reference on your next job site.
👉 Get the Inspector's Checklist
If you would like to learn more about helical pile installation and learn how to grow your business as a Chance Certified Installer, click this link to learn more.


 After the Installation

